
Contributed by Autumn Brenton
Pre-Production
To begin a successful video production you must start with the end result, or at least what you hope to achieve.
When at the brainstorming level, ask yourself some basic guideline questions:
- What or who is the subject matter?
- Who’s going to watch it – i.e., what is your target audience?
- What is the overall goal for this production?
- Who are you trying to make famous, the topic or yourself?
Installing this practice from the get-go sets efficiency in motion. Answering these questions also offers practicality and gives you the boost to sketch in the emotions, influence and message you’re trying to convey to your viewers. Take these simple steps as a hinted list and apply them, then proceed to launch yourself from pre-production into production.
Production
We now journey into picking up a moving image camera and printing the story in our head to tape. Production is where the videographer shines. The set has now become a place of residence where they bring vision to reality.
A great shooter is not only able to set up the ideal shot, get the right angles and capture essential moments, but they also approach each scene with an editor’s point of view. Since the editor needs to tell the same story by piecing together the images provided by the videographer, it’s essential the videographer has the forethought to gather more than enough video.
If you take anything away from this learning session, let it be this – thinking in terms of editing is going to give you above average results every time!
Always get an establishing shot in addition to covering three other necessary framing methods – apply this each time you set-up a new scene. The first being a wide shot – a.k.a., your establishing shot. It tells visually the who, what, when and where of your story.
Next, grab a few medium shots to add a little more connection to what it is you’re shooting.
The last of these three is tight, tight, and more tights. Tight shots are what the editor relies on to either go from one action to the next or to avoid a jump cut (think movie flaw and break in continuity). Taken from a series of angles, a tight shot of the same action can tell the same story five different ways. Having a repeated action is like a gift from heaven above and provides room for more creative perspectives both for the videographer and the editor, which of course is more appeasing to the viewer’s eye.
Repeated Action Example
The scene: A person is walking down a set of stairs
1—frame a wide establishing shot to roll on during their initial trip down the stairs
2—reframe a medium shot (let’s say from torso on up leaving a fair amount of headroom) and again record them descending the stairs
3—it’s tight shots from here on out; shot of their feet, shot of their hand on the railing, shot of their head looking down to anticipate their next step, etc…
Interviews
When doing a standard sit-down interview, it’s best to keep the ‘rule-of-thirds’ in mind when framing a shot. The rule-of-thirds is the most well known method of image capturing composition. A great way to accomplish such framing is to center the individual, after having them pose facing the camera but shifted about a quarter analog clock stop towards the interviewer, who is settled slightly left or right of the camera. Pan slightly to place a margin behind the back of their head that’s approximately ¼ of the screen. Their head should take up ½ of the image. The Space from the edge of their nose leading towards the direction their looking to the edge of the frame should take up about ¾ of this shot.
Why do we call this basic principle the rule of thirds? Imagine breaking down a picture in your viewfinder or monitor into thirds (both horizontally and vertically) so that you have nine parts. Creating a rule-of-thirds grid helps identify four important parts of the image in which you want to place points of interest. In theory, this allows a more balanced and personally generated moment.
Here’s another tip to help you in interviews. Roll at different focal lengths throughout the interview. A good time to change up the framing is when the interviewer is asking a question, but make sure you’re locked back down and steady when the interviewee begins to talk.
To zoom or not to zoom, that is the question. Naturally your eyes do not zoom. So why or when should you zoom? Well, there are exceptions to every rule, including this one, but when first becoming familiar on shooting techniques it’s recommended you hold shots steady for about 45 to 60 seconds a piece (not including interview scenarios) with out moving, then re-frame by zooming in or out.
In addition to getting closer to an object by zooming, you can physically pick up your tripod and camera and move towards that object.
One rule-breaking exception: if the individual being interviewed is displaying more emotion while detailing a slow and even zoom, it will help the audience connect and empathize with the individual on a more intimate level.
Conclusion
With clichés like ‘think outside the box’ thrown around by other ‘creatives’ way too often, resorting to the basics has become the new edge. You master the fundamental rules first because when it’s time to break them it’s only going to be that much more fun. So flip on your camera’s power switch, pop in your tape and let’s play videographer.
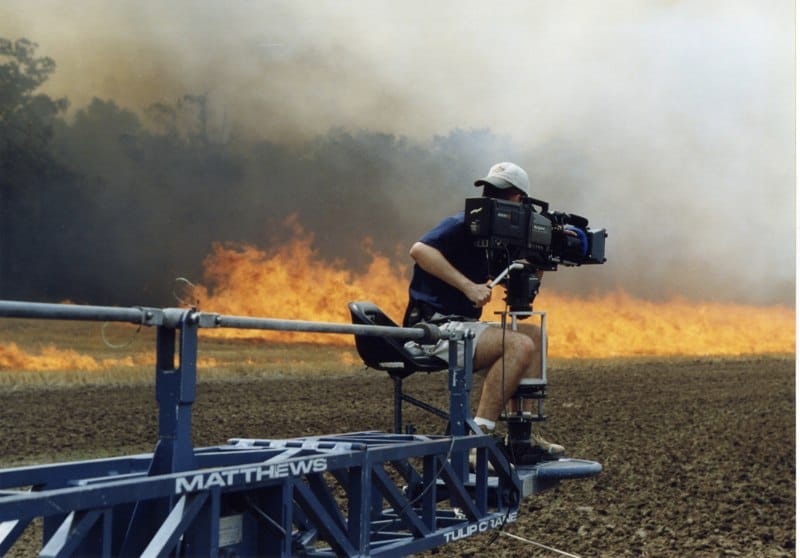
Photo: Kelly McClure